The desktop app
mdsh-gui opens a markdown file as a notebook. Press play on a block and its output lands under it, in the file. It is free, it runs on macOS and Linux, and it never needs a server.


Start where your files are
The start screen lists the markdown files under a folder, with each
file’s description under its name. Type to filter, or #tag for a tag.
Pin the files you come back to. A folder with a .mdsh.yaml shows as a
collection, with its own title, icon and color; the ⚙ beside it
edits those in a form. New Session opens a file named for the day
with the History pane ready, and Last Session opens the latest one.


Source and notebook, side by side
Every file opens in a tab with shells of its own. The rendered notebook is on the right, the markdown source on the left, and they scroll together. The source view completes block attributes, explains them on hover, underlines mistakes, and checks the spelling of the prose; Vim keys are a setting, and a Neovim pane is an experimental one.
In the notebook, drag a block, a fence or a whole section from the outline to move it, fold what you aren’t reading, delete a block or clear its output, and undo any of it. Tabs drag between windows, and a block running in one carries on.


Run a block, a section, or all of it
Each block has a play button, each heading runs its section, and Run
all runs the file. Output streams in under the block, with its colors.
A confirm block asks in its card, with Run, Skip and Stop. A block’s
depends= runs what it needs first and is drawn as colored lines in
the margin, which you can drag to change. Run › Clear All Outputs
starts over, as if nothing had run.


Work in the History pane
View › History opens a terminal along the bottom, with your shell’s
prompt and completion. Each command you type is added to the file as a
block, with its output; a line starting with # becomes a note. It is
how a document starts when you don’t know yet what it will say.


Forms, diagrams, pictures
textbox and choice blocks are drawn as a text field, radio buttons
and checkboxes; what you pick is saved in the file and reaches the
blocks as $MDSH_VAR_ variables. d2 fences draw diagrams and svg
fences pictures. out=markdown output is drawn as markdown, images and
terminal recordings show in the block, and nothing is loaded from the
network.


d2 diagram above a table made by a block.Reports with one click
File › Create Report… makes a PDF, a standalone HTML page or a markdown
copy, with or without code and output, from this tab’s run, a fresh
run, or the saved file. It shows the mdsh command that makes the same
report, for CI.


Make it yours
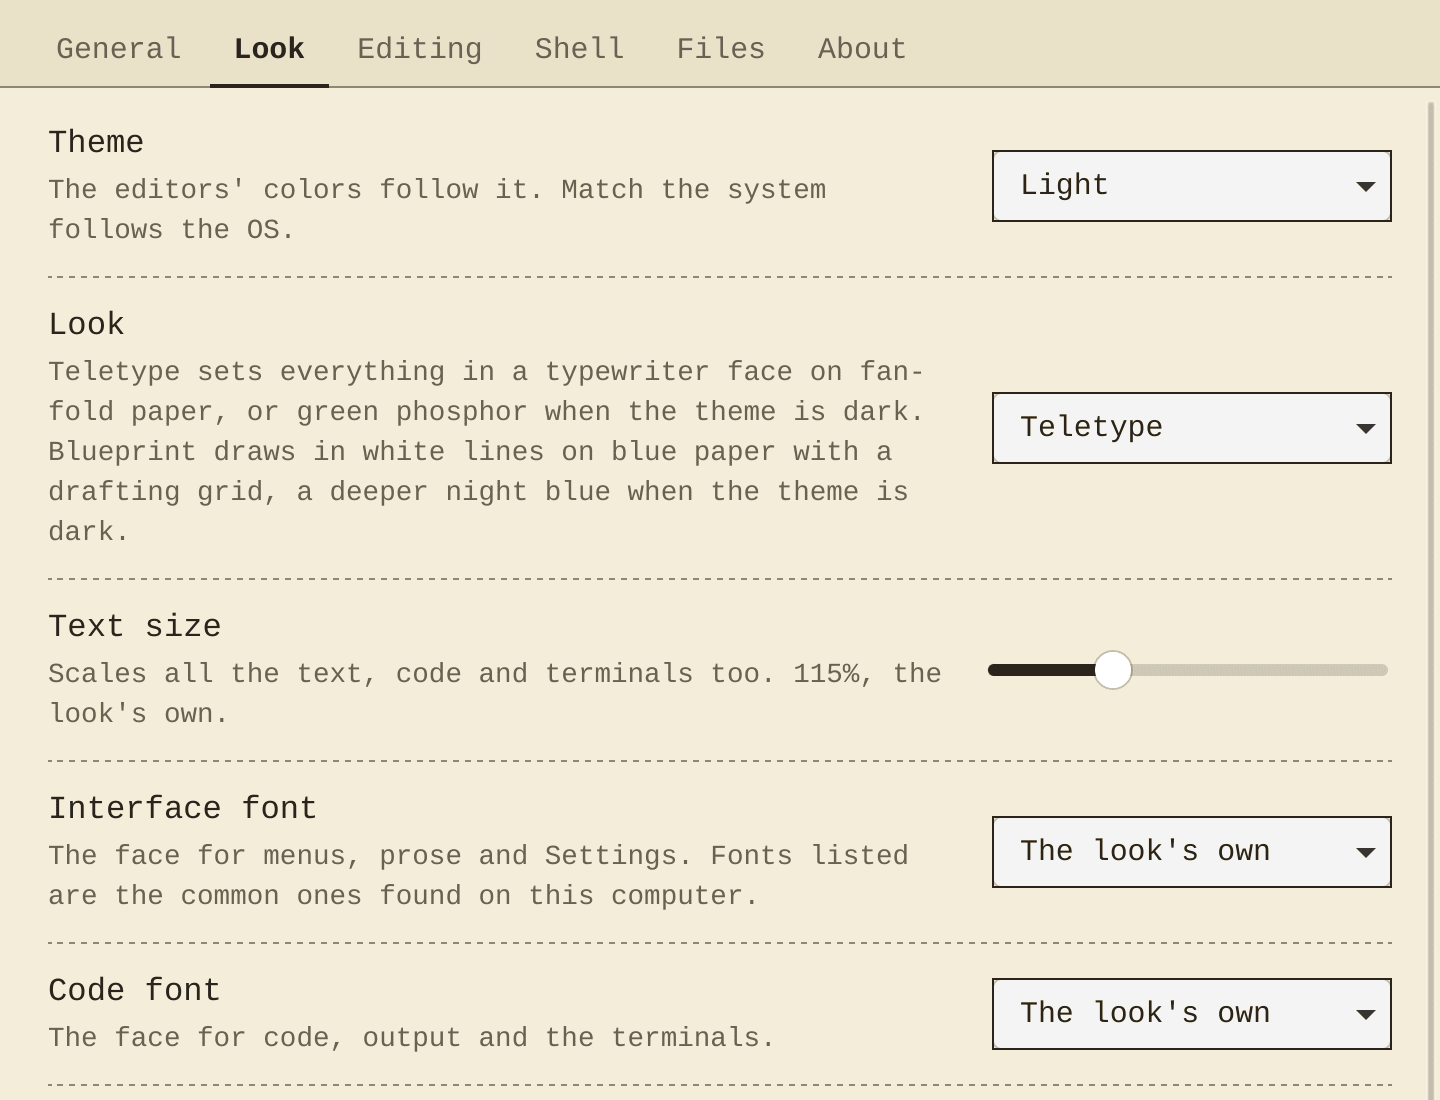
Settings has tabs for General, Look, Editing, Shell, Files and About.
Look picks Plain, Teletype or Blueprint, each in light and dark, and
tunes the text size, fonts, line spacing, accent color and the History
pane’s colors. About shows the build, the paths it uses and the tools
on your PATH, with Copy for a bug report.
Every button, pane and tab has a name for a screen reader and a key for the keyboard; the app was checked with VoiceOver for 1.3. The full list of menus, keys and settings is in the desktop app reference.